
Key Takeaways for Fast Metal Enclosure Prototypes
- Metal-first prototyping delivers durable, production-ready enclosures in days and outperforms brittle plastic 3D prints for real-world testing in data centers, EVs, and medical devices.
- Use a 7-step workflow: define DFA requirements early, iterate CAD models, validate with 3D prints, then laser cut, form, assemble, and test metal prototypes.
- Apply DFM principles such as bend radii, tolerance stack-up analysis, and heat-set inserts to minimize part counts and support smooth scaling to production.
- Vertically-integrated manufacturers cut lead times to under a week by combining fabrication, finishing, and assembly under one roof, which reduces coordination delays and rework.
- Ready to accelerate your hardware launch? Start with Fabcon’s integrated prototyping services to eliminate supplier handoffs and compress your timeline.
Prerequisites & Context for Senior Hardware Teams
This workflow serves directors of engineering and senior mechanical engineers at technology and infrastructure firms with revenues above $50M. The baseline assumes CAD proficiency and working knowledge of common fabrication processes. Core concepts include Design for Manufacturing (DFM) for sheet metal, Design for Assembly (DFA) to reduce part counts, tolerance stack-up analysis for multi-component assemblies, and heat-set insert integration for removable hardware.
These fundamentals matter more than ever because supply chain urgency in 2026 has intensified focus on mid-volume production gaps between prototype quantities and high-volume contract manufacturing minimums. Teams that understand agile manufacturing cells and vertically-integrated fabrication keep launch schedules on track instead of getting stuck in that mid-volume gap.
The table below shows how metal-first prototyping compares to plastic alternatives across the dimensions that matter most for production-ready validation. Use it to weigh higher metal costs against durability and schedule reliability.
| Method | Lead Time | Durability | Cost (Low-Vol) |
|---|---|---|---|
| Plastic 3D Print | Hours-Days | Low (brittle for assemblies) | $5–$50 per part |
| Metal Laser/CNC | 3-7 Days | High (real-world testing) | $65-300+ per part (20-50% savings for bulk) |
| Integrated Metal Assembly | <1 Week (vert. int.) | Production-Ready | Cost savings via DFM |
With these fundamentals in place, you can move into a practical, repeatable workflow that turns concepts into metal enclosures quickly.
Rapid Prototyping Hardware Enclosures: The 7-Step Workflow
1. Define Requirements and DFA Up Front
Start by establishing specifications for PCB mounting, battery compartments, and cable routing before CAD modeling begins, because these constraints drive every downstream decision. Use those physical requirements to define tolerance needs for mating surfaces and hardware insertion points. Capture these details in a DFM checklist that covers bend radii, weld accessibility, and powder coating considerations.
Apply that checklist to guide modular designs that minimize part counts and simplify assembly workflows. Then prioritize design choices that eliminate custom fasteners and reduce secondary operations, since each unique component adds cost and risk.
2. CAD Modeling and Iteration for Sheet Metal
Develop enclosure designs in Fusion 360 or SolidWorks using integrated sheet metal features that reflect real tooling behavior. Model snap-fits, flat patterns, and bend allowances that match your target material thickness. Include tolerance stack-up simulation for critical dimensions and mating components so you catch fit issues early.
Define heat-set insert locations with appropriate boss geometry and wall thickness so parts survive installation without cracking. This level of detail in CAD shortens the number of physical iterations you need later.
3. Rapid Iteration with Plastic 3D Prints
Validate form, fit, and basic function using FDM printing with PLA or PETG before you cut metal. Install heat-set inserts in printed prototypes to test hardware insertion forces and thread engagement under realistic conditions. Approximately 70 percent of 3D printing activity supports prototyping and design validation, which reflects how effective this step is at revealing assembly issues.
Use these prints to test PCB mounting, cable routing, and access panel operation so you can refine the design while changes remain inexpensive.
4. Metal Enclosure Prototyping Methods and Tradeoffs
Move to laser cutting and CNC punching for flat patterns once plastic validation confirms design viability. For complex geometries that require fast turnaround, multi-laser systems improve throughput compared to single-laser setups and keep schedules tight. Laser cutting also delivers superior edge quality for aluminum and steel enclosures compared to plasma or waterjet processes, which matters when parts must mate precisely.
Use CNC punching when your design includes high-volume hole patterns or standard hardware cutouts, because punching handles repetitive features more cost-effectively than laser cutting each hole.
5. Forming, Finishing, and Hardware Installation
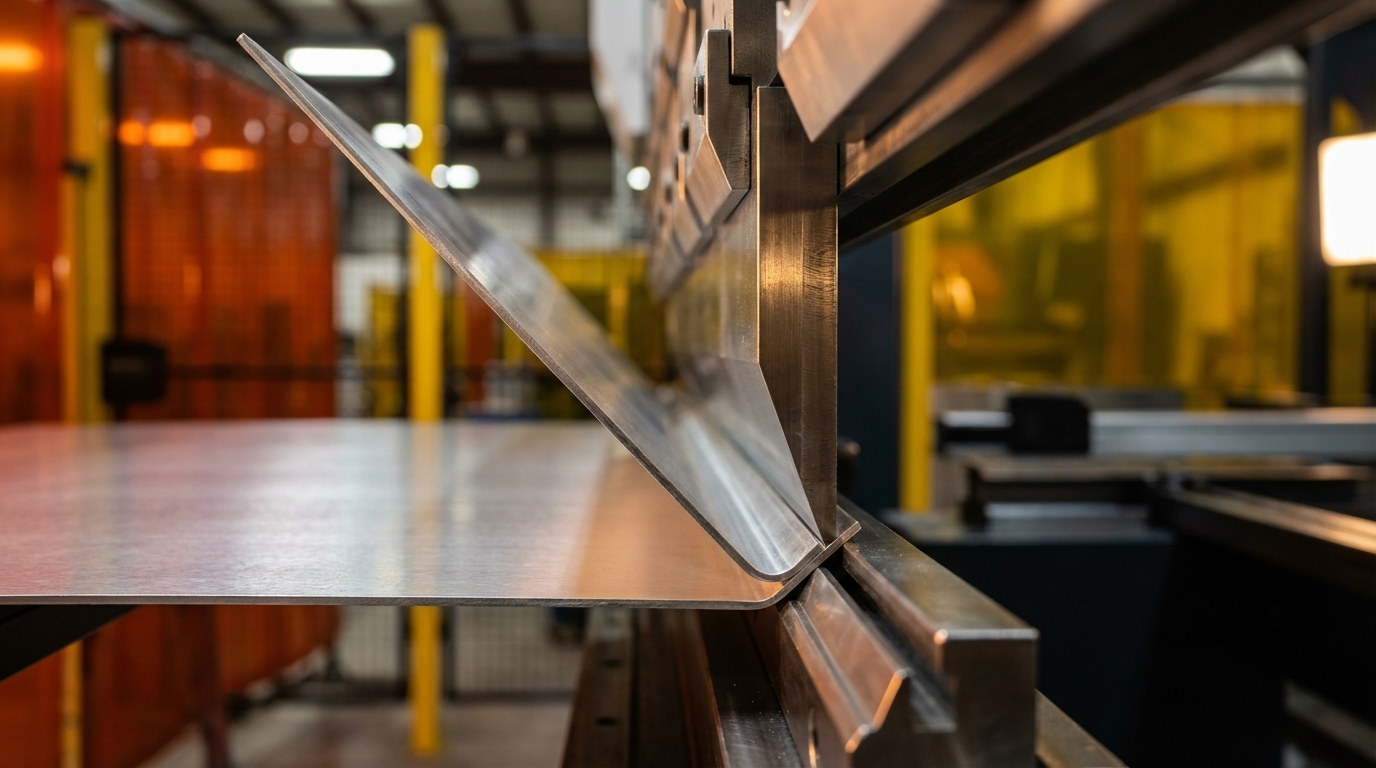
Execute bending operations on press brakes with tooling matched to your material thickness and bend radius requirements. Once forming is complete, apply powder coating or wet paint finishes to protect against corrosion and create a professional appearance. Account for coating thickness in your tolerance stack-up so doors, panels, and mating parts still fit after finishing.
After coating cures, install heat-set inserts, PEM nuts, and other hardware using pneumatic insertion tools to maintain consistent engagement depth. Watch for common pitfalls such as misaligned bend sequences and inadequate material allowances for complex geometries, since these issues often force you to scrap parts.
6. Prototype Assembly Techniques for Fast Iteration
Integrate wiring harnesses, PCB mounting, and modular components using standardized fasteners and connectors that support quick changes. Design assemblies for fast disassembly so engineers can swap boards, panels, and harnesses during each iteration and during field service. Implement cable management solutions that handle wire gauge variations and connector orientations without strain.
Document assembly sequences and torque specifications so every prototype build follows the same process and produces consistent results. See how Fabcon’s assembly services eliminate the supplier handoffs that slow down prototype iterations and complicate your BOM management.
7. Test, Iterate, and Prepare to Scale
Run functional testing that matches your application, including thermal cycling, vibration resistance, and electromagnetic compatibility where required. Feed test results into DFM reviews so each iteration moves the design closer to production-ready status. A data center rack enclosure project, for example, can cut development time by about 50 percent when it uses integrated laser cutting and assembly services instead of coordinating multiple suppliers.
Frameworks, Tools, and Material Choices for Fast Prototyping
Standardized frameworks help you repeat this workflow across programs without reinventing it each time. Start with DFM checklists that cover bend radius minimums, weld accessibility requirements, and powder coating thickness allowances. Build material selection guidelines that address strength-to-weight ratios, corrosion resistance, and cost for aluminum versus steel enclosures.
Use the table below to compare three common alloys for enclosure prototyping. The strength and cost data help you balance structural requirements against budget constraints.
| Alloy | Strength (MPa) | Cost ($/lb) | Enclosure Use |
|---|---|---|---|
| 6061-T6 Aluminum | 276 (yield) | $3.56 – $4.32 | Lightweight electronics |
| 5052 Aluminum | 193 (yield) | $3.90 – $6.02 | Corrosion resistance |
| A36 Steel | 400 (min. ultimate tensile) | $1.20 | Heavy-duty industrial |
A 2026 EV infrastructure case study shows how this approach works in practice, with 5-day prototype delivery that later scaled to 1,000-unit production runs through agile manufacturing cells. Partners like Fabcon use this vertical integration model to compress timelines from prototype through production.
Common Challenges and Troubleshooting for Quick-Turn Prototypes
Tolerance stack-up failures, mentioned earlier in the prerequisites, occur when individual part tolerances accumulate beyond acceptable limits for assembly fit. Prevent these issues with early DFM analysis and statistical tolerance modeling that flags risky dimensions before fabrication. Slow quoting cycles often come from fragmented supplier networks that require multiple RFQs, which add days at each step.
Agile manufacturing cells with integrated quoting systems remove many of these delays by providing single-source pricing within hours. Assembly rework usually stems from weak hardware insertion planning during design. Specifying heat-set inserts and PEM hardware up front creates reliable attachment points for removable panels and component mounting, which avoids rework loops.
All three challenges share a common root cause: insufficient upfront planning and scattered supplier coordination. Single-source manufacturers address this fragmentation problem through unified accountability across design, fabrication, finishing, and assembly.
Measuring Success and Advanced DFA Tips for Enclosures
Clear metrics keep your enclosure prototyping process on track. Target prototype delivery under one week and assembly yield rates above 95 percent as baseline goals. Track these KPIs across projects so you can see whether process changes improve speed or quality.
Advanced teams layer in digital twin modeling, AI-driven DFM checks, and high-mix manufacturing cells tuned for 2026 scaling requirements. Fabcon-style integrated manufacturing supports high first-run yields by combining thorough DFM analysis with unified quality control across every stage.
FAQ: From 3D Print to Metal Prototype Workflow
How long do metal enclosure prototypes typically take?
Metal enclosure prototypes usually require a few days for laser cutting and CNC punching, followed by 2-3 days for forming, finishing, and assembly. Integrated manufacturers can deliver complete assemblies within one week by avoiding handoffs between fabrication and assembly operations. Actual lead times depend on complexity, material availability, and finishing requirements.
How do metal prototype costs compare to plastic alternatives?
Metal prototypes cost about 2-4 times more than plastic equivalents upfront but often reduce total program cost. They support real-world testing that plastic cannot match, which helps you avoid expensive design changes discovered during production scaling. The higher initial investment pays off through validated designs and smoother transitions to production tooling.
What certifications matter for regulated sectors?
ISO 9001:2015 and AS9100D certifications confirm that quality management systems meet aerospace and medical device expectations. ITAR registration enables support for defense programs. UL and CSA compliance address electrical safety standards for powered enclosures. These certifications provide traceability and documentation that regulated industries require for approvals.
How do you scale from prototype to production?
Agile manufacturing cells support scaling from single prototypes to mid-volume production without the high minimum order quantities common with large contract manufacturers. Vertically-integrated suppliers maintain design consistency from prototype through production by controlling fabrication, finishing, and assembly in one organization. This approach reduces the handoff risks that appear when you switch between prototype and production vendors.
What should you evaluate when selecting manufacturing partners?
Prioritize US-based manufacturers that offer fabrication, finishing, and assembly under one roof so you gain the integrated approach described earlier. Evaluate engineering support capabilities such as DFM analysis and design refinement. Confirm quality certifications that match your industry, and review their ability to support evolving BOMs and volume swings without rigid minimum order quantities.
Conclusion
This 7-step metal-first workflow turns hardware enclosure prototyping from a fragmented, weeks-long effort into an integrated cycle measured in days. By combining early DFM analysis, rapid plastic validation, and professional metal fabrication, engineering teams reach production-ready designs faster while still meeting quality and scalability requirements.
Put this workflow into action with Fabcon so you can apply this integrated approach and compress your product launch timeline from months to weeks.