
Key takeaways for scalable enclosure design
- 3D printed enclosures often fail during scaling to sheet metal because snap-fits, tolerances and wall thicknesses do not translate.
- Seven focused steps create enclosures that function in both rapid 3D printing prototyping and sheet metal production.
- Early DFM work with bend radii, standardized holes and tolerance stack-up supports smooth production transitions.
- Prototypes printed in PETG or SLS nylon validate snap-fits, thermal behavior and assembly before committing to tooling.
- Engineering teams gain expert DFM support and prototype-to-production planning by requesting a DFM consultation with Fabcon.
Core concepts for enclosure design and manufacturing
This guide assumes familiarity with CAD software and basic 3D printing processes. Key concepts include Design for Manufacturability (DFM), which aligns designs with specific manufacturing processes, and snap-fit joints that enable tool-free assembly through elastic deformation. Tolerance stack-up describes how individual part variations accumulate in assemblies and can create fit problems.
U.S.-based manufacturing capabilities have become critical for technology companies that need rapid iteration cycles and flexible production volumes. This shift means enclosure designs must work across both 3D printed prototypes and domestic sheet metal production to avoid costly redesigns during scaling.
Step-by-step process for 3D printed enclosures that scale
The following seven steps address the challenge of creating enclosure designs that support rapid 3D printing prototypes and sheet metal production without major redesign.
Step 1: Define enclosure requirements and constraints
Start by setting enclosure dimensions based on PCB size, connector locations and thermal management needs. These baseline dimensions must also support modular configurations when the product family includes multiple variants. Document environmental conditions such as operating temperature ranges, humidity exposure and expected mechanical shock or vibration. These conditions guide material choices and structural features in later steps. Define assembly access for maintenance and service so service tasks remain practical in both prototype and production builds.
Step 2: Build the structural framework
Sketch the primary enclosure shell with wall thickness that works for both 3D printing and sheet metal, often in the 2-3 mm range for plastic prototypes. Within this shell, plan ventilation openings that address the thermal needs identified in Step 1 while preserving strength around corners and mounting points. Design mounting features for internal components with enough clearance for tools, cable routing and strain relief. Position these features so they do not weaken ventilation areas or critical structural ribs.
Step 3: Create snap-fit joints for plastic and metal paths
Use cantilever snap-fits with nominal clearances that suit FDM processes and later metal redesign. Shape beams with thicker bases that taper toward the tip to balance strength and flexibility. Add lead-in angles that guide parts together and reduce assembly force. Avoid vertical Z-direction build orientation for cantilever features because that orientation increases the risk of layer separation failures.
Step 4: Integrate electronics and cable management
Place connectors with enough clearance for cable bend radius and strain relief hardware. Route cables through channels that support flexible prototype wiring and later production harnesses. Reserve space for grommets, clips or ties where needed. Plan thermal paths with ventilation near heat sources and provisions for heat sinks or thermal pads so electronics remain within safe operating limits.
Step 5: Tune the design for 3D printing performance
Select nozzle sizes that match part size and functional needs for enclosure components. Larger nozzles suit large housings where surface finish matters less than speed and strength. Orient parts to reduce support material while keeping snap-fit beams aligned with strong print directions. This orientation improves mechanical performance and shortens print time.
Step 6: Apply sheet metal DFM rules to the model
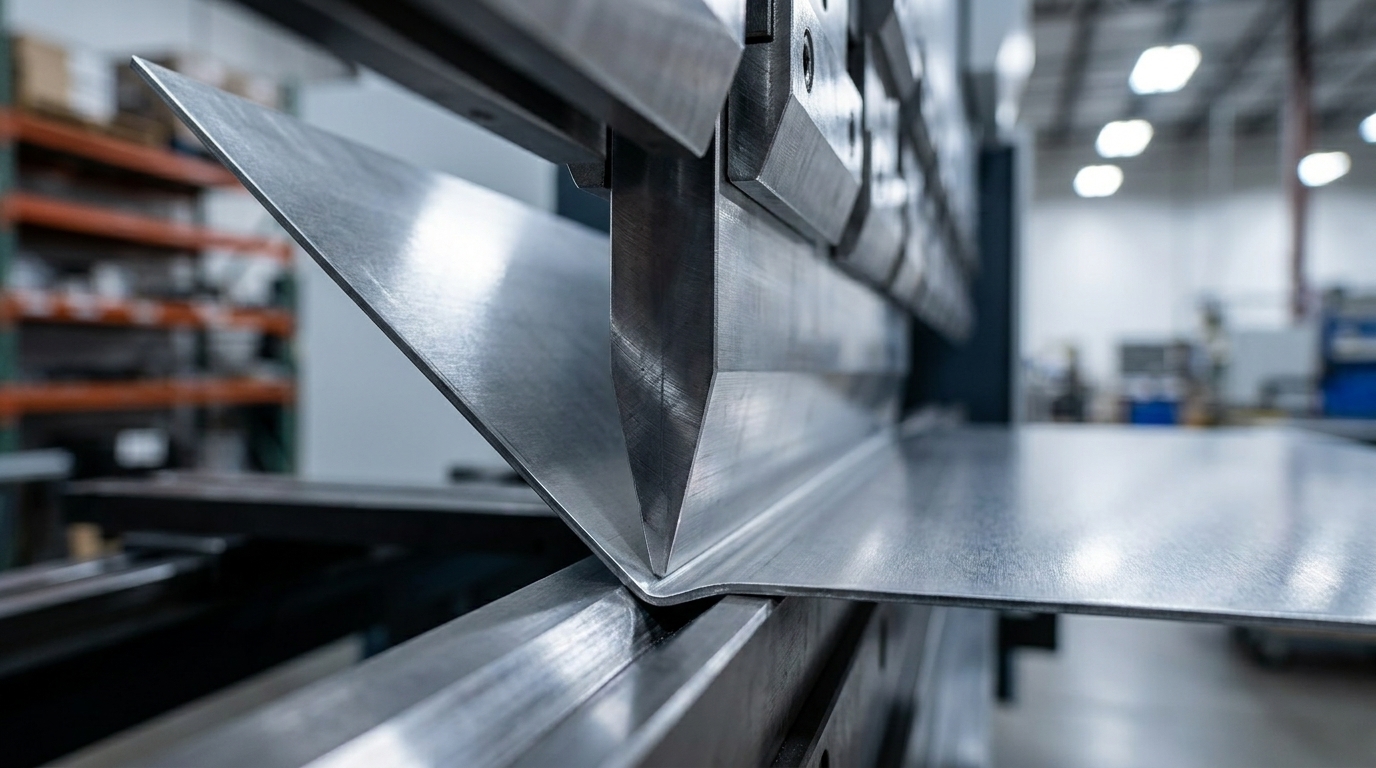
Set bend radii that prevent cracking during forming and match common tooling. Standardize hole sizes and fastener types to reduce tooling complexity and simplify assembly. Plan bend sequences that avoid tool interference and help maintain dimensional accuracy through forming, secondary operations and finishing.
Step 7: Test, document and refine
Print functional prototypes in materials that mimic production behavior as closely as possible. Test snap-fit engagement force, assembly order and component fit across multiple builds. Validate thermal performance and mechanical durability under expected operating conditions, including repeated assembly cycles. Capture lessons learned in design notes and update CAD models so production drawings reflect proven changes.
Teams ready to confirm enclosure performance for production scaling can request a DFM analysis from Fabcon’s engineering group.
Material choices and tolerance planning for scaling
Material selection shapes both prototype behavior and the transition to production. PETG balances rigidity and flexibility for reusable snap-fits and general-purpose electronics enclosures. SLS nylon PA12 supports demanding snap-fit joints through strong tear resistance and good fatigue performance.
For FDM printing, 0.2-0.3 mm layer heights pair well with 0.4-0.6 mm nozzles for functional enclosures, balancing speed and surface quality. Snap-fit features benefit from 40-60% infill and 3-4 perimeter walls to deliver the strength needed for repeated assembly. These settings help printed parts behave closer to production components during testing.
Production materials such as aluminum and cold-rolled steel introduce different constraints. Aluminum provides low weight and corrosion resistance, which suits portable or outdoor equipment. Cold-rolled steel offers higher strength and cost efficiency for structural or rack-mounted systems.
Common enclosure problems and practical fixes
Warped snap-fits and loose tolerances affect many 3D printed prototypes. Avoid vertical Z-direction printing for cantilever snap-fits to reduce layer bonding failures. Use conservative deflection ratios and add locating pins or tabs that guide parts into position before snap engagement.
Scaling to production often exposes tolerance stack-up issues that single prototypes hide. Overly tight tolerances drive inspection costs and rejection rates without functional benefits. Reserve tight tolerances for features that control fit, sealing surfaces or critical performance dimensions.
Complex shapes that print without issue may not suit sheet metal fabrication. Reduce part count by forming flanges and ribs through bends instead of welding separate brackets. This approach simplifies tooling, improves repeatability and lowers assembly time.
Scaling prototype enclosures to production with Fabcon
Transitioning from 3D printed prototypes to sheet metal production benefits from partners skilled in both processes. Fabcon operates 220,000 square feet of vertically integrated U.S. manufacturing that combines engineering support, precision fabrication and electromechanical assembly in one location.
ISO 9001:2015 and AS9100D certified processes help preserve design intent from prototype through production builds. Early collaboration on manufacturability highlights constraints before they require redesign. Fabcon’s engineering team works directly with design groups to align enclosure features with both rapid prototyping and scalable production methods.
Fabcon manages the full path from prototype validation to volume production instead of relying on fragmented vendor networks. This integrated model reduces handoffs, shortens time-to-market and supports consistent quality as volumes grow. Start your DFM analysis to plan a clear prototype-to-production path.
Frequently asked questions about enclosure design
What materials suit 3D printed enclosures for electronics?
PETG offers strong balance between strength and flexibility for reusable assemblies with snap-fit features. ABS provides solid impact resistance and temperature stability for more demanding environments. SLS nylon PA12 delivers fatigue resistance and dimensional stability that closely resemble injection-molded parts. PLA supports simple, single-use prototypes but lacks the flexibility needed for durable snap-fits.
How can teams size snap-fits for FDM printing?
Design cantilever beams with 2-3 mm thickness at the base that taper to 1-1.5 mm at the tip. Target a length-to-thickness ratio between 5:1 and 10:1 to achieve adequate flexibility. Use 0.3-0.5 mm clearance between hook and catch surfaces to account for FDM dimensional variation. Include 25-30 degree lead-in angles for smooth assembly and add fillets of at least 0.5 mm at the beam base to reduce stress concentration.
What changes when moving from 3D printed to sheet metal enclosures?
Sheet metal fabrication requires minimum bend radii to prevent cracking, unlike the geometric freedom of 3D printing. Hole placement must align with forming sequences and tool access. Snap-fit mechanisms often need redesign around metal spring properties instead of plastic flexibility. Wall thickness priorities shift from print strength to forming behavior and structural stiffness. Assembly methods may move from snap-fits toward fasteners or welding.
How can teams validate enclosure designs before production tooling?
Begin with FDM prototypes in PETG or ABS to confirm basic fit and assembly order. Move to SLS nylon parts for functional testing that better reflects production material behavior. Run thermal tests, drop tests and repeated assembly cycles to confirm durability. Review designs with manufacturing partners early to surface DFM concerns. Consider pilot builds using production processes to validate the full manufacturing sequence.
Which DFM factors matter most for electronics enclosures?
Prioritize assembly access for internal components and service tasks. Maintain clearance for cable routing and connector engagement, including strain relief hardware. Design mounting features that support both prototype builds and production fastening methods. Address electromagnetic interference shielding needs that influence material selection and wall thickness. Plan ventilation and thermal paths while preserving structural integrity and required environmental ratings.
Conclusion: Connecting prototypes to production-ready enclosures
Effective enclosure design connects rapid 3D printing capabilities with production manufacturing requirements. The seven steps in this guide support designs that perform in both 3D printing and sheet metal fabrication while reducing redesign cycles and speeding product launches.
Early attention to manufacturing limits, material behavior, snap-fit geometry and tolerance planning creates a smoother path from prototype to production. Teams ready to advance enclosure programs can partner with Fabcon for integrated engineering support that aligns design, prototyping and production under one coordinated plan.